Approx. 5 minutes of reading time
We were facing questions about the assembly of SimpleFCU and what you actually have to do in order to bring it to life. The aim of today’s blog is to explain all the rumors and make things clear.
We’re planning to launch preorders in about 14 days. There might be a slight delay as we’re waiting for some legal stuff to be resolved and you never know what might go wrong.
However, almost everything is ready and we can’t wait for D-Day!
We’re fine-tuning the plastic parts now, so they will be easy to print. There might be some differences in printers on the market, but we created a dedicated channel on our Discord for this purpose. We’d be happy to help with all your questions.
Our team members are pretty skilled in 3D printing, so we’re ready for any upcoming challenge.
Let’s talk more about the process from purchasing to flying like a pilot.
PURCHASE-PRINT
Once your order is complete, your account will be automatically created on our website. You’ll find all the relevant STL files, manuals, and troubleshooting guides in the “My account” section. You need to download the STL files and slice them in your preferred slicer. Recommended settings will be available in the attached PDF file.
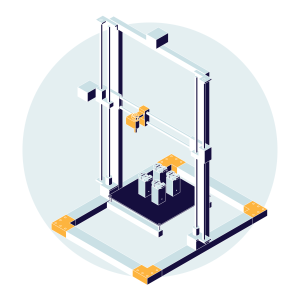
The print time depends on the type of your printer. However, it should take approx. 3 days of printing to print everything.
We recommend starting printing right after the files are available. This will make sure you can fine-tune the printing process and get the plastic parts ready before the package with all the hardware stuff reaches you. We’ll share more tips & tricks for the printing later on.
RECEIVE-ASSEMBLY

Assuming you have all the plastic parts ready for assembly and the package from us just landed at your home, the next step is to assembly everything together. If you own a 3D printer, you most likely own all the needed tools already.
So, what do you need?
- set of small screwdrivers (ideally for cellphone repair)
- soldering iron
- wire cutters and flat face pliers
- tweezers (optional but recommended)
- sanding sticks (optional, depends on the quality of the printed parts)
- hot glue gun (optional, depends on the quality of the printed parts)
- a bit of patience
What will you receive in the package?
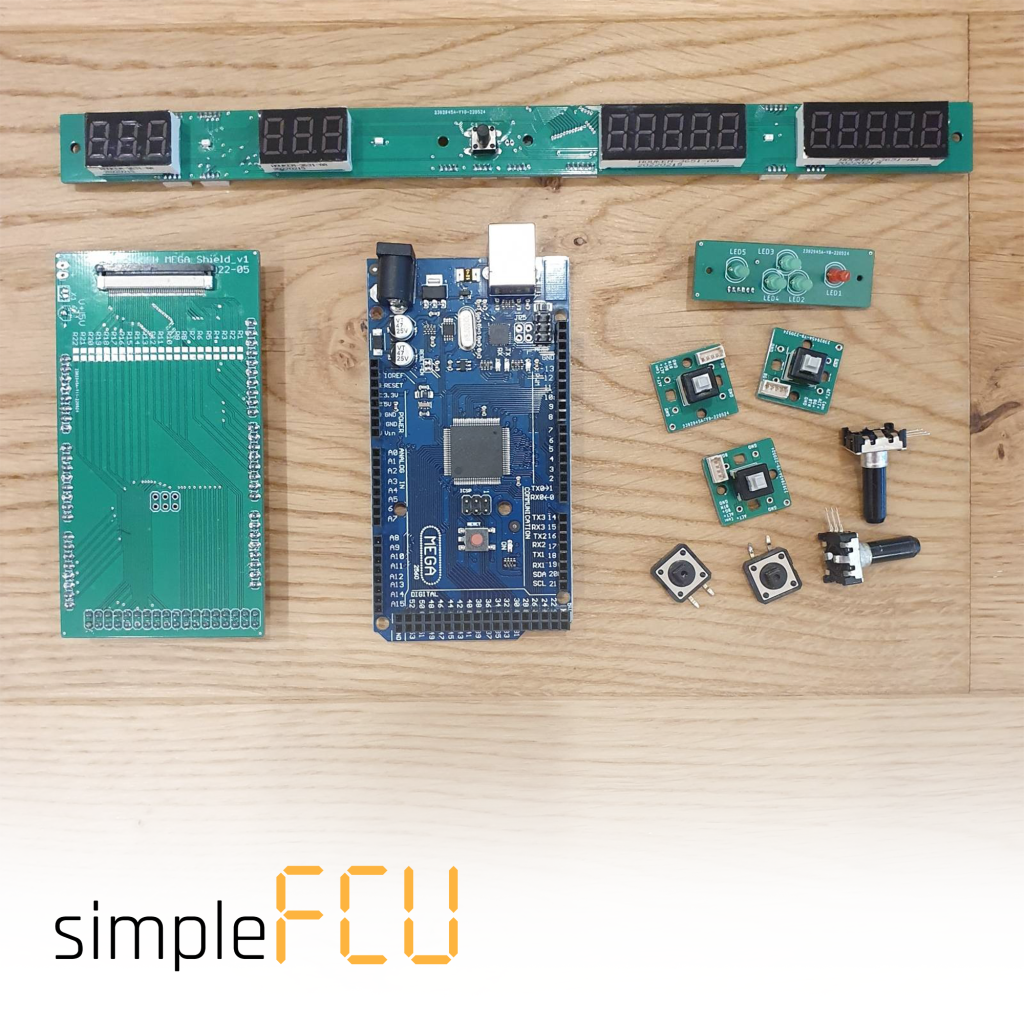
(v1 boards & hardware already in testing)
- main PCB fully assembled with all the displays, connectors, LEDs and SPD/MACH switch
- LED indicator board fully assembled as well
- encoders & switches needed for Korry buttons and Push&Pull modules
- LEDs & PCBs for Korry buttons (push button is already assembled)
- Arduino MEGA and custom designed shield with 1.5 m cable
- main data cable from Arduino shield to main PCB
- all needed cables with connectors
- screws
- one main front sticker & Korry buttons stickers
- 4 resin printed knobs
5V/2A wall adapter(explanation is in this blog post)- spare parts package – we understand that sometimes things don’t go well
- and last but not least, a surprise!
What to do with all that?
For Korry buttons, you need to place two LEDs into the printed plastic parts, screw the PCB and solder their 4 contacts. This will make the Korry to be backlit. The push button is preassembled on the PCB. The cable that goes to the main PCB board is preassembled as well. Two final clicks to appropriate positions on boards and you’re done.
Almost the same applies for the Push&Pull modules, this time 5 wires need to be properly soldered onto the hardware parts of the module and the other side of the preassembled connector goes to the main PCB. Click, done.
The rest is just screwing the things into place and clicking the connectors. As we said, a lot of fun ahead!
Don’t forget to take pictures and invite some friends to enjoy this part with you. Beer won’t be included in the package, we’re sorry 😅
If anything pops up, our Discord is there for you.
CONFIGURE-FLY

(image not to scale)
The last part is verifying if everything is properly in place and checking the configuration. Once you download the MobiFlight software and launch it, the default FBW A320 configuration will be loaded for you. Accept installing the WASM module – this is needed in order to communicate with the sim. It’s just one click and it takes only a few seconds.
If you’ve plugged everything in place and there’s no short anywhere, you can call yourself a captain now!
Launch the flight sim and while loading, some values should start displaying on the displays. That’s an amazing feeling to see things working, we can tell..😏
You´re the captain now!
We hope this clears up all the doubts and rumors about what actually has to be done in order to get SimpleFCU running. We’ll surely provide you with a PDF guide on how to assemble & solder everything properly. Also, we’re planning on making videos too.
The process of creating something is always a lot of fun, and you’ll learn something new for sure. Don’t forget:
A good pilot is always learning.
So what will the package actually look like? That is a topic for one of the next blogs, stay tuned! Images will be included for sure.
Safe travels & happy landings ✈️
For the whole SimpleFCU team
Mike
-
Pingback: SimpleFCU, a build-at-home autopilot control module, is now open for preorder - MSFS Addons